How to Cut Stair Stringers for Deck Stairs: A Step-by-Step Guide for Sloped WNY Yards
If your backyard drops two or three feet from the door to the grass, the stairs are the hardest part of the whole deck. Cutting them right starts with a stair stringer template: one carefully laid out board that you test, fix, and then copy for every other stringer. Get that first board right and the rest of the staircase falls in line. Get it wrong and you copy the same mistake four times.
This guide walks through the full process for a deck in Buffalo or anywhere in Western New York, where frost, snow load, and sloped lots change how you lay out and land your stairs. It is written for the homeowner with an elevated or multi-level deck in the works, not a flat three-step box on a level lawn.
One honest note before we start. Deck stairs are one of the most code-sensitive parts of deck stairs construction, and inspectors look at them closely. If your deck sits more than a few feet off grade, or the slope under the stairs is steep, have a deck builder or your town building department check your plan before you cut lumber.
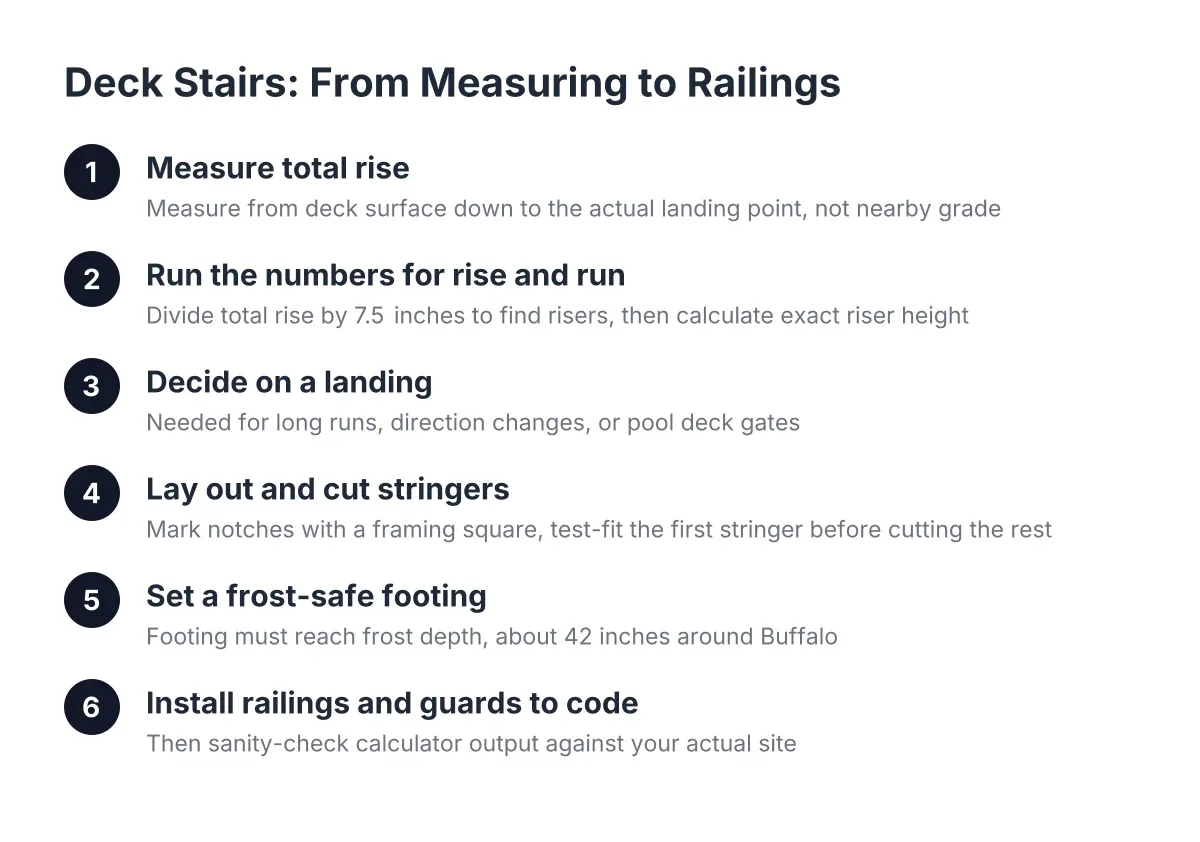
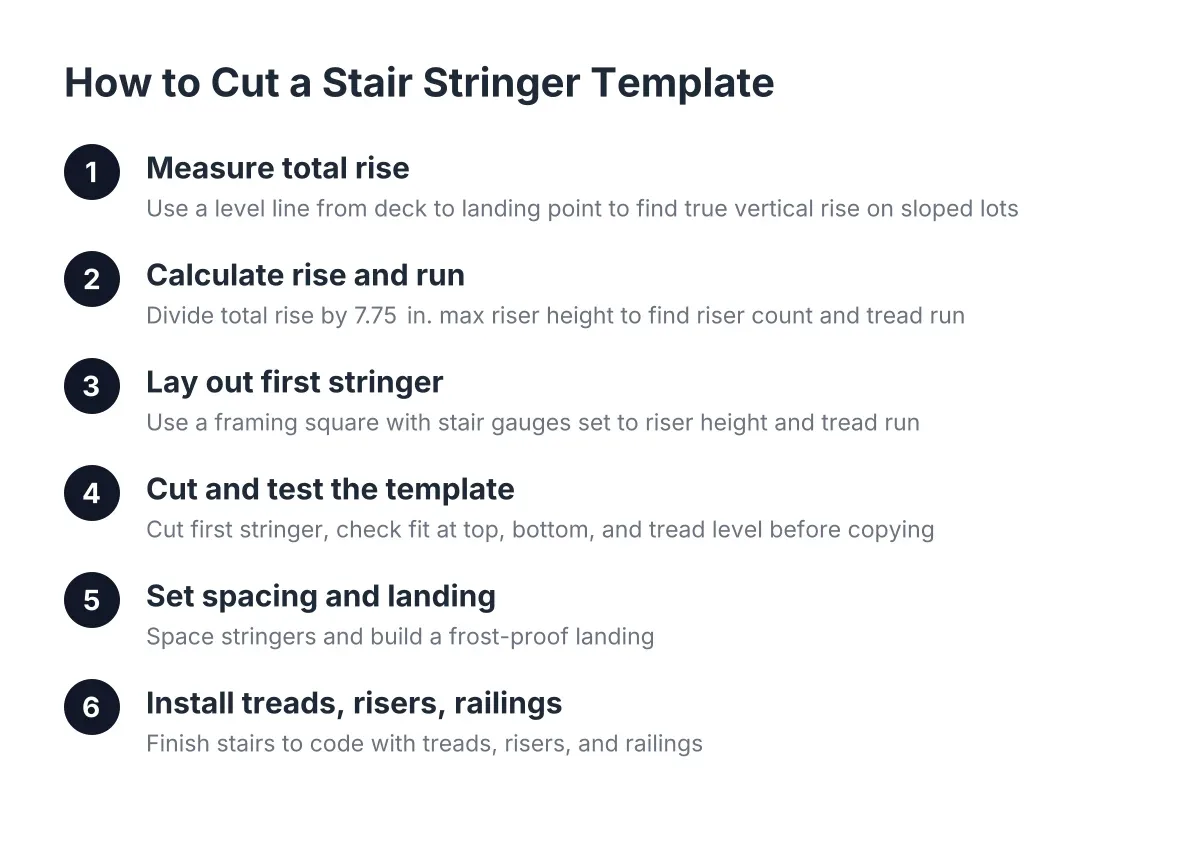
Step 1: Measure the Total Rise From Deck to Landing
Start by finding the total rise: the vertical distance from the finished deck surface down to where the stairs will land. On a flat lot this is one tape measurement. On a sloped Buffalo yard, it is not, because the ground keeps dropping as the stairs run out from the deck.
Here is the method that works on a slope. Run a level board or a string with a line level out from the deck surface, horizontally, to the point where the bottom step will land. Measure straight down from that line to the ground at the landing point. That number is your true total rise.
For example, suppose a homeowner in Amherst has a deck surface 38 inches above grade at the house. The yard falls away, so by the time the stairs run out, the landing point sits 46 inches below the deck. If they had measured at the house, every layout number would be wrong and the bottom step would float in the air.
Step 2: Calculate Rise and Run for Each Step
Divide the total rise by 7.75 inches, the maximum riser height allowed under New York's residential code, then round up to the next whole number. That is your number of risers. Divide the total rise by that number to get the exact height of each riser.
Using the 46-inch example: 46 divided by 7.75 is 5.9, so you need 6 risers. Each riser is 46 divided by 6, or about 7 11/16 inches. Every riser must match within 3/8 inch across the whole staircase; uneven steps are a trip hazard and a failed inspection.
Next, set your tread run. Code requires a minimum 10-inch run per tread, and 11 inches feels better underfoot, especially with snowy boots in a Buffalo January. An online stair rise and run calculator can check your math, but do the division yourself first so you understand the numbers you are cutting to.
Key numbers to keep in front of you for 2026 New York deck stair code requirements:
- Maximum riser height: 7.75 inches
- Minimum tread depth: 10 inches
- Maximum variation between risers: 3/8 inch
- Minimum stair width: 36 inches
- Graspable handrail required at 4 or more risers, set 34 to 38 inches above the tread nosings
- Guard required once the walking surface is more than 30 inches above grade; New York's residential code requires a 36-inch guard height at that point, according to Mister Baluster
Step 3: Lay Out the First Stringer With a Framing Square
Take a straight, crown-checked 2×12 and a framing square. Set stair gauges, the small brass clamps that lock onto the square, at your riser height on one leg and your tread run on the other. The gauges turn your square into a repeatable stair stringer layout tool, so every notch comes out identical.
Starting at one end of the board, hold the square so both gauges ride the edge and trace the first rise and run. Slide the square down, line it up with the last mark, and trace the next step. Repeat until you have marked every step, then mark the plumb cut at the top and the level cut at the bottom.
Two adjustments matter here. First, subtract the tread thickness from the bottom riser; otherwise the first step up is taller than the rest once treads go on. Second, if the stringers hang from the deck rim, mark the top connection before cutting so the top tread lines up with the deck surface.
Step 4: Cut and Test the Stair Stringer Template
Cut the first stringer with a circular saw, stopping at each inside corner, then finish the corners with a handsaw or jigsaw. Overcutting with the circular saw weakens the stringer at its narrowest point, which is exactly where stairs crack years later under snow load.
This first board is your stair stringer template. Set it in place against the deck and the landing spot and check three things: the top tread sits flush where it should, the bottom cut sits level on the landing, and a level on each tread cut reads flat. Fix any problem on this board now.
Only after the template fits should you trace it onto the remaining stringers. A good stair stringer template saves you from the classic weekend disaster: four stringers, all cut, all wrong by the same half inch. You can find a free printable stair stringer template or a plastic stair stringer jig tool at a hardware store, and they work fine for standard runs; on a sloped yard with a custom rise, your own tested board beats any store-bought pattern.
Creating a Stringer Template Beats Marking Each Stringer Separately
Marking each stringer from scratch invites drift. A 1/16-inch error per step adds up across six steps, and the stringers no longer match. When stringers do not match, treads rock, fasteners work loose through freeze-thaw cycles, and the staircase feels spongy within a few seasons.
Tracing from one proven board means every stringer carries identical geometry. Clamp the template to the new board, trace it with a sharp pencil, and cut to the line. Three stringers traced from one template takes less time than laying out a second board, and the result is a stiffer, quieter staircase.
Step 5: Set Stringer Spacing and a Frost-Proof Landing
Space deck stairs stringers no more than 16 inches on center for wood treads, and tighter for composite. Most composite decking brands cap stringer spacing at 12 inches or less on stairs, so a 36-inch-wide composite stair usually needs four stringers, not three. Check your decking manufacturer's chart before you buy lumber.
The landing matters as much as the spacing, and this is where Western New York differs from the generic advice online. Frost heave moves anything that is not anchored below the frost line, and around Erie County that means footings down 42 inches. A stair landing poured on grade can lift an inch or more in a hard winter, which throws off your bottom riser height and violates the 3/8-inch rule.
So how do you attach stair stringers to a landing that will not move? You have a few sound options:
- Pour a concrete pad tied to footings that reach 42-inch frost depth, then anchor the stringers with metal stringer hangers or an anchored kickboard.
- Set the bottom of the stairs on a beam carried by frost-depth footings, a common detail on multi-level decks where stairs land on a lower deck level instead of the ground.
- For short runs, land on a properly compacted gravel base with a floating pad, and accept that you may need seasonal adjustment; this is the budget option and the trade-off is real.
At the top, hang the stringers from the rim or a stair header with manufactured stringer connectors, not nails alone. On an elevated deck, that top connection carries the full load of the staircase plus everyone on it.
Step 6: Install Treads, Risers, and Railings to Code
Fasten treads with structural screws, two per stringer, and keep composite tread overhang within the manufacturer's limit. Closed risers shed less snow into the framing below and give the stairs a finished look; open risers are allowed as long as the opening will not pass a 4-inch sphere.
Railings come next, and this is where inspectors spend their time. Any stair with 4 or more risers needs a graspable handrail between 34 and 38 inches above the nosings. Where the deck or stairs sit more than 30 inches above grade, you also need a 36-inch guard, and balusters spaced so a 4-inch sphere cannot pass.
For pool decks, go further than the minimum. Deck stairs for pool access see constant wet traffic, so choose a textured composite tread, keep risers closed, and consider a gate at the top of the stairs if the stairs lead to an above ground pool deck. Wet feet and a steep stair are a bad combination that code minimums do not fully solve.
What Deck Stairs Cost on a Sloped Lot
Stairs on a sloped yard cost more than the same stairs on a flat lot, and the reasons are concrete, sometimes literally. More total rise means more stringers and treads, the landing needs frost-depth footings, and railings run the full length of a longer staircase. Composite treads and railing kits add material cost over pressure-treated wood but hold up better through Buffalo freeze-thaw cycles.
For context on the whole project, professional deck labor typically runs $15 to $35 per square foot, and a professionally built deck averages $30 to $60 per square foot, according to NerdWallet. Stairs tend to be the most labor-dense part of that footage. Rather than fixating on a per-step price, get itemized quotes that show footings, framing, stairs, and railing as separate lines so you can compare builders honestly.
When to Cut Them Yourself and When to Call a Deck Builder
A confident DIYer with a framing square and a tested stair stringer template can handle a straight run of four to six steps landing on a solid pad. The math is arithmetic, the layout is repetition, and this guide covers the traps.
However, the jobs that bring sloped-yard homeowners to a deck builder are rarely that simple. Stairs that switch direction with a mid landing, stairs connecting two deck levels, or a staircase dropping six feet down a hillside involve engineered connections, multiple frost-depth footings, and permit drawings your town will want to review. In the Buffalo area, that usually means a permit application through your town or Erie County municipality before any footings go in.
If your project looks like the second list, the stringer layout is the easy part. The design work, the footings, and the code compliance are where a Western New York deck specialist earns the fee, and where a flat-lot approach fails on a yard like yours.
If you need deck building, WNY Deck Builders can help.
Prefer to talk it through? Call (716) 317-4901 — a quick call is usually the fastest way to get a straight answer for your situation.