Solar Deck Lights That Survive Buffalo Freeze-Thaw: 8 Picks and Placement Tips
Solar deck lights sound like the easy answer for a Buffalo backyard: no wiring, no electrician, screw them on and done. The catch is that most of the cheap ones on the shelf were never tested against a Western New York winter. Lake-effect snow buries them for weeks, freeze-thaw cycles crack their housings, and short December days leave batteries half-charged by 5 p.m. This list walks through eight solar lighting choices and placement decisions, filtered by one question only: what actually holds up structurally and electrically through a Buffalo winter?
This matters more if you own an older deck or you are planning a multi-level build on a sloped yard. Lights on a failing railing are lights you will reinstall in two years. Lights planned into a new build last as long as the deck does.
1. Start with the housing material, not the brightness rating
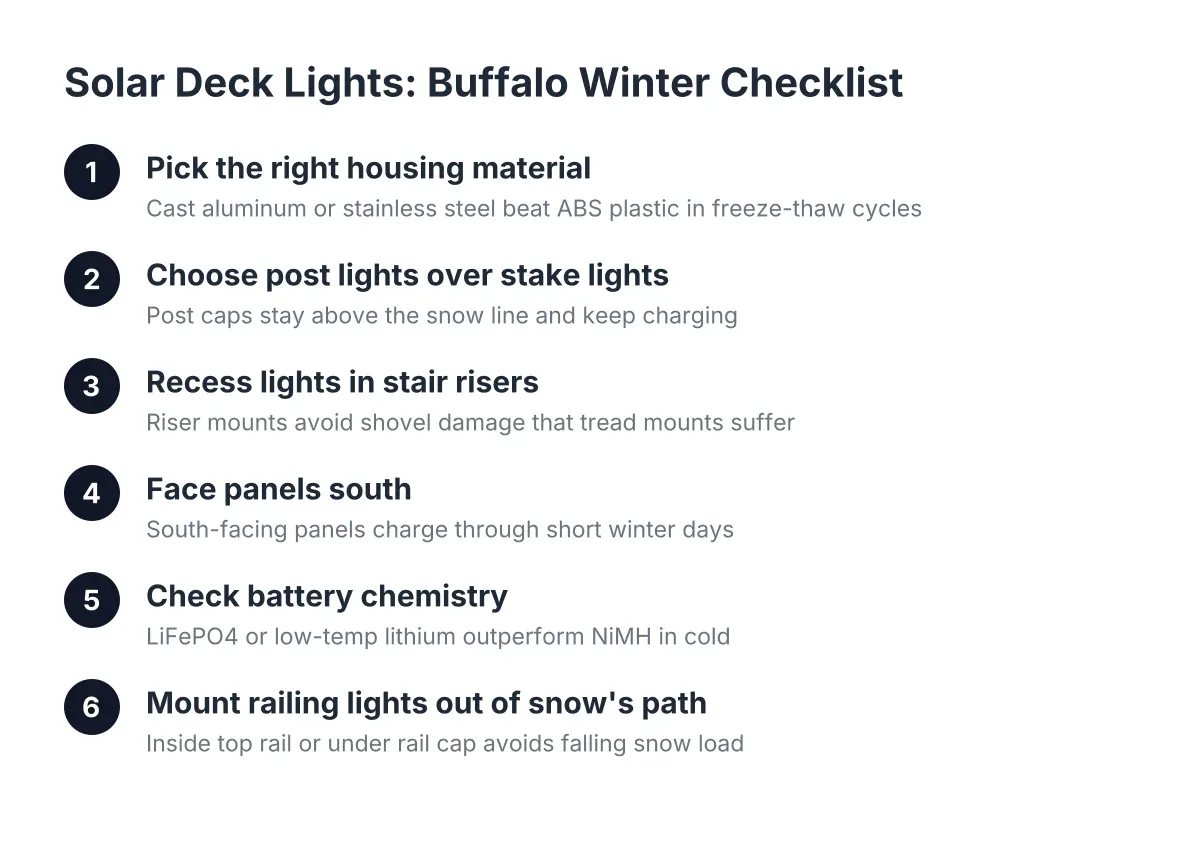
The housing decides whether a solar light survives freeze-thaw, so shop by material first. Cast aluminum and stainless steel housings handle Buffalo winters best. ABS plastic and thin polycarbonate get brittle below zero, and one ice expansion cycle inside a hairline crack splits them open.
Here is the short version of how common housings behave in WNY conditions:
- Cast aluminum with powder coating: Best cold-weather performer. It sheds ice without cracking and does not warp when temperatures swing 40 degrees in a day.
- Stainless steel: Strong second choice. Watch for cheap grades that show surface rust after a salty winter, especially near a driveway you treat with ice melt.
- Thick polycarbonate: Acceptable on protected railings and under-cover porch posts. Avoid it on exposed stair treads.
- Thin ABS plastic: Skip it. This is what most bargain multi-packs use, and it is the number one reason homeowners replace solar deck lights every spring.
A gasket matters as much as the shell. Look for a listed IP65 rating or better, which is the difference between "waterproof in a light rain" and "sealed against melting snow sitting on the lens for a week."
2. Choose solar deck post lights over stake lights for snow country
Solar deck post lights mounted on top of 4×4 or composite railing posts stay above the snow line, which is the whole game in a lake-effect winter. A stake light at grade disappears under the first real December storm and stays buried until March. Post cap lights keep their solar panels exposed, so they keep charging even when 18 inches of snow sits on the deck boards.
For an Aging-Deck Replacer, this is also a structural check. Post cap lights only work if the posts are solid. If your railing posts wobble when you lean on them, fix the railing before you spend a dollar on lighting; a deck railing installation done right gives every light a stable, level mount.
3. Put recessed solar lights in stair risers, not stair treads
Stairs are where deck lighting stops being decoration and becomes safety, especially on a multi-level deck with two or three stair runs. Recessed outdoor lighting set into the stair risers, the vertical face of each step, stays out of the snow shovel's path. Tread-mounted lights get scraped, chipped, and popped loose the first time someone clears the stairs in a hurry.
On a sloped-yard build, plan one light per riser on any run of four steps or more. Suppose a homeowner in South Buffalo has a two-level deck with a six-step run between tiers; six small riser lights there do more for nighttime safety than a dozen decorative lights anywhere else on the deck. New York's residential code also requires a 36-inch guard height once the walking surface sits more than 30 inches above grade, according to Mister Baluster, so an elevated upper tier already needs code-compliant railings; lighting the transitions between levels is the natural next step.
4. Face solar panels south and keep them off the north side of the house
Buffalo sits far enough north that panel orientation changes real-world performance. A solar deck light with its panel facing south charges through winter's short days. The same light on the north side of the house, shaded by the roofline, may only bank enough charge for two or three hours of output in January.
Therefore, walk the deck at midday before you buy anything and note where direct sun actually lands between November and February. On multi-level decks, the upper tier usually gets the best exposure; put your brightest lights there and use lower-output accent lights on the shaded lower level. Some post cap models have adjustable or separate panels, which helps on a porch with a roof overhang blocking direct sun.
5. Check the battery chemistry before winter, not after
Battery type decides whether solar deck lights work in February or die in November. Standard NiMH batteries, the default in most budget lights, lose a large share of their capacity below freezing. Lithium iron phosphate (LiFePO4) and low-temperature lithium cells hold charge far better in cold weather and last more seasons before replacement.
In addition, buy lights with replaceable batteries. Sealed units become disposable the first winter the cell degrades. A light with a swappable battery costs a few dollars more up front and skips the annual replace-the-whole-set cycle that makes cheap solar lighting expensive over five years.
6. Mount deck railing lights where shovels and snow load will not hit them
Deck railing lights survive Buffalo winters when they sit on the inside face of the top rail or under the rail cap, protected from falling and shoveled snow. Lights mounted proud of the railing's outer face take the full weight of snow sliding off a roof or getting pushed off the deck surface.
Snow load is not only a framing question. A deck built for WNY snow load carries the weight fine, but anything mounted in the path of snow removal takes abuse. Keep fixtures out of the two zones that get hammered every winter: the deck surface itself and the outer railing face below any roofline. Under-rail and inside-face mounting keeps the light useful and out of harm's way.
7. On an old deck, fix rot before you mount anything
Screwing a light into soft, rotted wood wastes the light and hides the problem. If your deck is 15 or more years old and you notice spongy boards, splintering, or posts that shift, get the structure evaluated before adding features. Freeze-thaw cycles drive water into every fastener hole, and each new screw in compromised wood is a new path for ice damage.
This is the honest repair-versus-replace conversation. Sometimes a deck repair, new railing sections, or replaced stair stringers gives you a solid base for lighting at a fraction of a rebuild. Sometimes the framing is too far gone and lighting money is better held for the new build. A deck builder who does both repair and full replacement can tell you which side of that line your deck sits on; a lighting purchase cannot.
8. If you are building new, rough in wired lighting and use solar as the layer on top
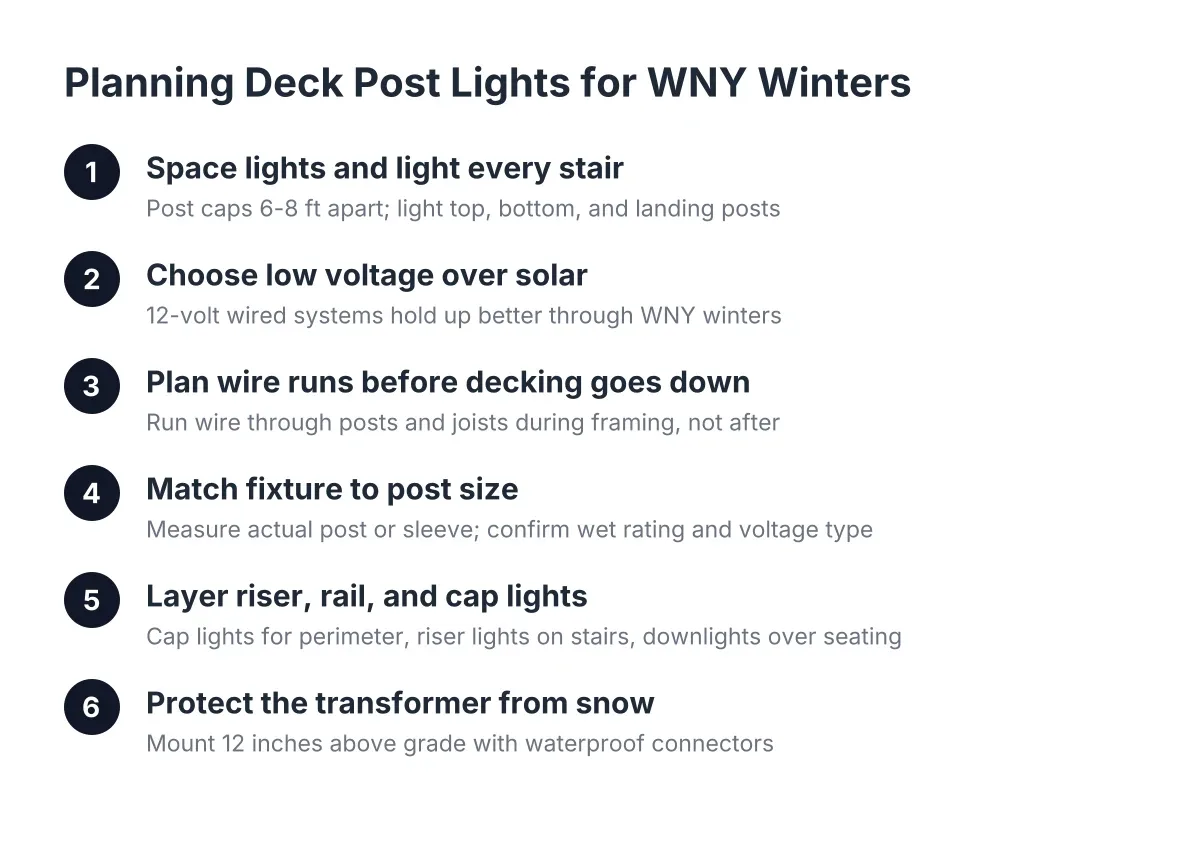
Solar handles accent lighting well; it does not replace wired lighting for a deck you use after dark from October through April. During a new composite deck or multi-level build, running low-voltage wire through the framing costs little because the structure is already open. Retrofitting that same wiring after the deck boards are down means pulling boards or fishing wire under a finished deck.
For example, say a homeowner in Amherst is planning a two-level composite deck on a sloped yard in 2026. The smart sequence is wired recessed stair lights and one or two wired post lights at the main entry, roughed in during framing, with solar deck post lights filling in the perimeter. That mix gives reliable light where safety demands it and flexible, no-wiring light everywhere else. It also keeps the electrical scope small enough that the deck build stays on schedule.
Where solar deck lights fit in a full deck project
Most homeowners searching for lighting are really planning a bigger upgrade: new railings, a bench, a privacy screen, or a full rebuild. Lighting is one piece of the deck lighting and features conversation, and the order of operations matters. Structure first, railings second, wiring rough-in third, then solar and decorative layers last.
Here is what that looks like split between DIY and pro work:
- DIY-friendly: Installing solar post cap lights, swapping batteries, cleaning panels each fall, and repositioning accent lights.
- Call a deck builder: Wobbly railings, soft or rotted framing, stair runs that need rebuilding, any structural work on an elevated or multi-level deck, and permit questions for your Erie County town.
- Call an electrician or builder-coordinated sub: Any 120-volt wiring, and low-voltage transformer installs tied into house power.
Permits in Buffalo and the surrounding WNY towns generally attach to the structural work, not the solar lights themselves. However, if your lighting project uncovers framing problems or grows into a railing replacement on a deck more than 30 inches above grade, the code and permit questions come back into play, and that is worth a professional's eyes.
Questions to ask before you hire out the bigger work
If the lighting project turns into a repair or rebuild, three questions separate a deck specialist from a general contractor with a decks page. First, ask how they handle footings; in WNY, footings need to reach 42-inch frost depth, and anyone vague on that is guessing. Second, ask whether they frame for local snow load, not a generic span table. Third, ask who pulls the permit and handles the town inspection.
A fair quote itemizes demolition, footings, framing, decking, railings, and stairs separately, so you can see where the money goes on a sloped-yard or multi-level design instead of getting one lump number that balloons later. On labor generally, professional deck work runs between $15 and $35 per square foot, according to NerdWallet, though the final number depends on height, site access, and design complexity. That same NerdWallet reporting notes homeowners recover 89% of a new wood deck's cost at resale, per the National Association of Realtors' 2023 Remodeling Impact Report, which puts the lighting budget in perspective; the deck is the investment, and the lights are how you enjoy it after dark.
If you are in Buffalo or the surrounding Western New York area and the deck under those future lights needs repair, new railings, or a full multi-level rebuild, reach out for an estimate. A site visit settles the repair-versus-replace question, maps the stair and lighting plan to your actual yard grade, and gives you a clear cost picture before you buy a single fixture.
If you need deck building, WNY Deck Builders can help.
Prefer to talk it through? Call (716) 317-4901 — a quick call is usually the fastest way to get a straight answer for your situation.