Deck Post Lights in Buffalo: Spacing, Wiring, and Placement That Survive Winter
Deck post lights are the feature most Buffalo homeowners ask about first when planning a new deck, and they are also the feature most likely to fail by February if the layout and wiring were an afterthought. Solar caps that die under lake-effect cloud cover, wire runs pinched by frost movement, fixtures spaced so far apart the stairs stay dark. This guide walks through spacing, wiring, and fixture placement the way a deck builder in Western New York would plan it, whether you are designing a new composite deck from scratch or replacing a rotting deck and want to get the lighting right this time.
Here are eight layout and planning rules that hold up through a WNY winter.
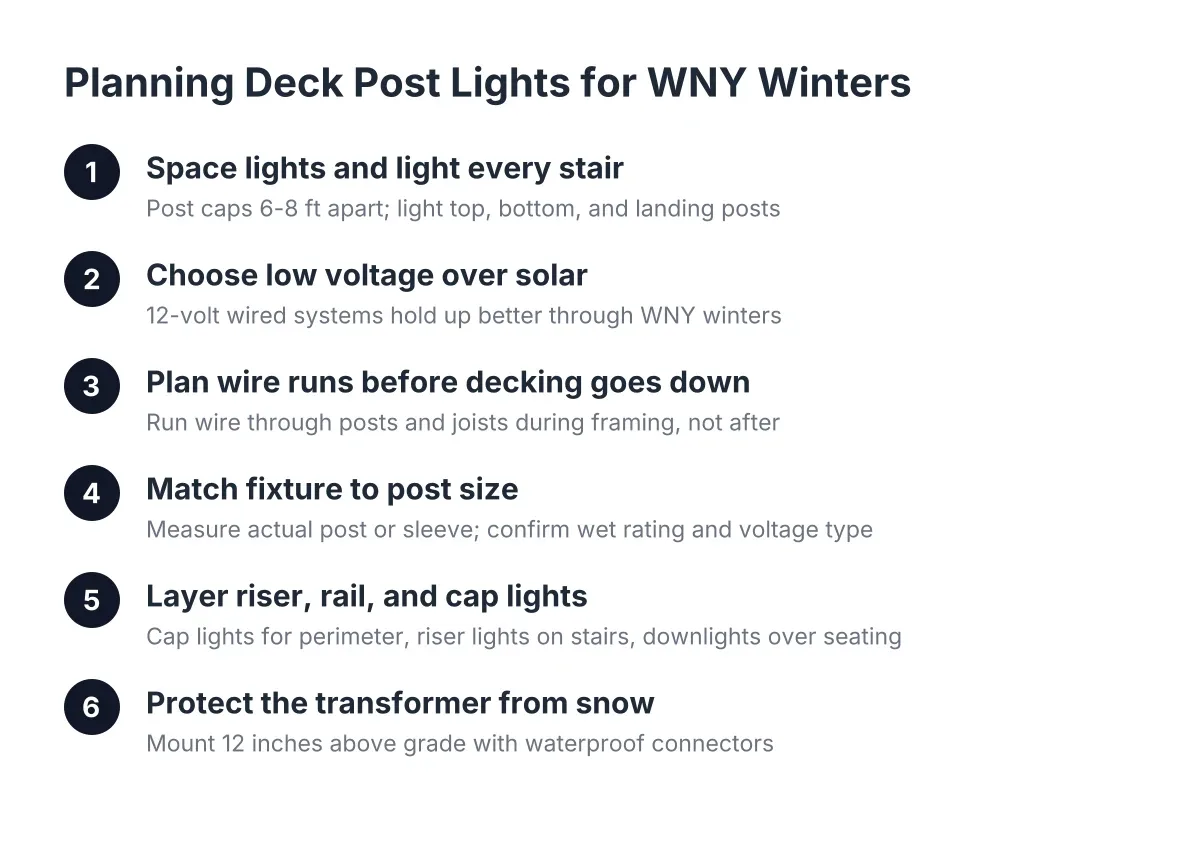
1. Space deck post lights 6 to 8 feet apart, and light every stair
Post cap lights work best when they sit on every other post along a straight rail run, which usually lands them 6 to 8 feet apart on a standard deck railing. Closer than that and the deck starts to look like a runway; farther and you get dark gaps between pools of light. The one place you should never skip is the stairs. Put a light on the top post, the bottom post, and any landing post in between. Most deck falls happen on steps, and a snow-dusted stair tread at 5 pm in December is invisible without light on it.
If the deck's walking surface sits more than 30 inches above grade, New York's residential code requires a 36-inch guard height, according to Mister Baluster. That railing height matters for lighting too; a cap light on a 36-inch guard puts the light source right at hip level, which is where you want it for walkway visibility without glare in anyone's eyes.
2. Choose low voltage wired over solar for lake-effect winters
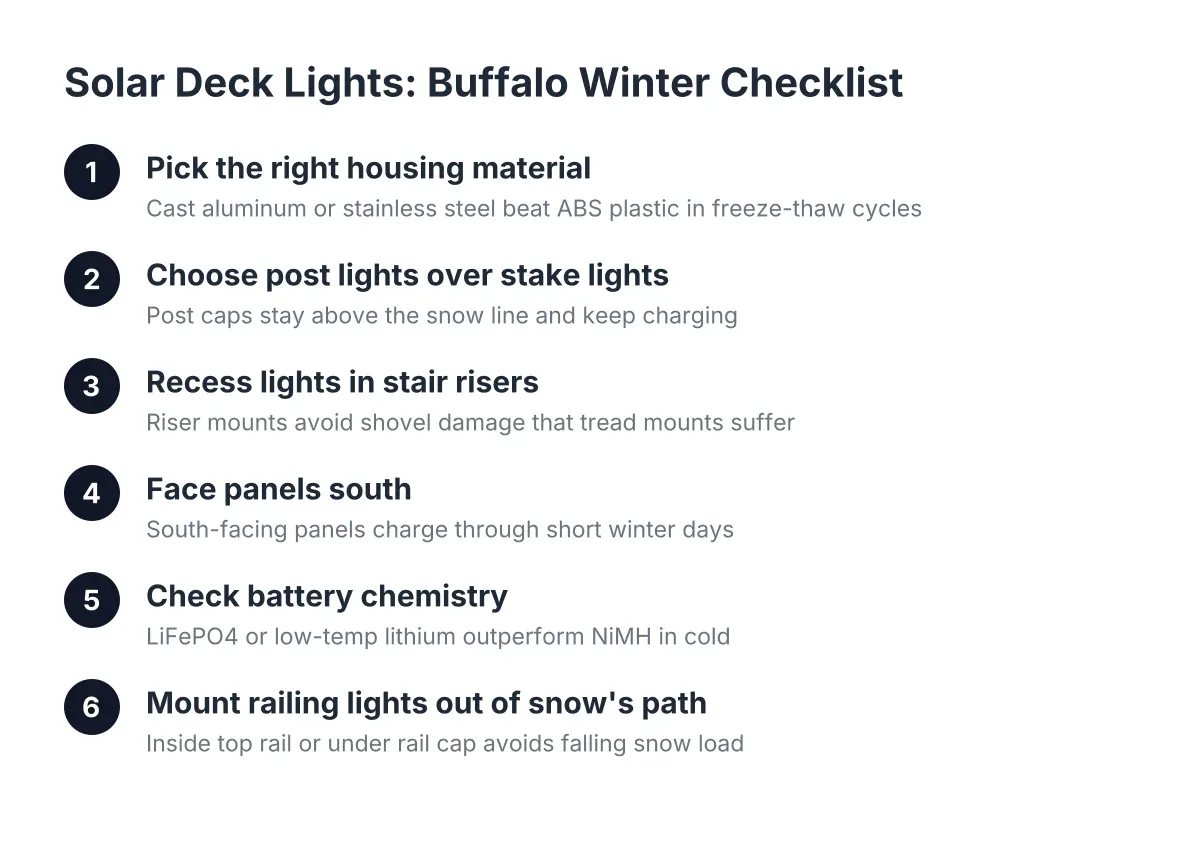
Low voltage deck post lights run on a 12-volt transformer, and they are the right call for most Buffalo decks. Solar lights for deck posts depend on direct sun to charge, and Western New York averages long stretches of gray from November through March. As a rough illustration, a solar cap that runs for hours on a bright July day might offer only a brief window of light in January, and little to none once snow covers the panel.
Wired low voltage systems cost more upfront because someone has to run wire before the decking and rail sleeves go on. However, they deliver consistent brightness on a timer or photocell all winter, and the low voltage means the wiring is safe to run through posts and under framing. Solar still has a place: freestanding sections far from power, or a patio deck where trenching wire is not worth it. Just go in knowing the trade-off.
3. Plan the wire runs before the decking goes down
The cheapest time to wire deck lighting is before a single deck board is fastened. Wire runs through hollow composite rail sections, drilled 4×4 and 6×6 posts, and along the underside of joists, all of which are wide open during framing and sealed up after. Retrofitting wire into a finished deck means removing boards or surface-mounting conduit, and both cost more and look worse.
On a rebuild, this is a real advantage of full replacement over patch repair. Say a homeowner in Cheektowaga is tearing off a rotted pressure-treated deck and rebuilding in composite; in that scenario, the crew can drill post channels, run the low voltage cable, and set junction points during framing for a fraction of what the same wiring would cost as an add-on next summer. If you are getting quotes for a new deck, ask each builder whether lighting rough-in is included in the framing price or billed as an extra. It is usually extra, but it is a small extra at framing stage and a large one later.
4. Match the fixture to the post size: 4×4 vs 6×6
Deck post lights are sized to the post they sit on, and a mismatch is the most common ordering mistake homeowners make. A cap built for a 4×4 post will not seat on a 6×6, and an adapter ring on a windy Buffalo deck is a cap you will find in the yard by spring. Measure the actual post or sleeve, not the nominal lumber size; a "4×4" composite post sleeve often measures closer to 4.5 inches.
Before you buy caps from a big box store or order online, confirm three things:
- The true outside dimension of the post or post sleeve, measured with a tape
- Whether the fixture is rated for wet locations, not just damp
- Whether it is solar, low voltage wired, or line voltage, because the three do not mix on one circuit
Retail post cap lights vary widely in build quality. Plastic lenses cloud and crack in freeze-thaw cycles; look for metal bodies and glass or thick polycarbonate lenses rated for outdoor cold.
5. Layer riser lights and rail lights with the post caps
Post caps alone light the perimeter but leave the walking surface and stairs in shadow. A layout that works has three layers: cap lights on the deck post lights circuit for the perimeter, recessed riser lights set into every second or third stair riser, and small rail-mounted downlights over seating areas. Each layer does one job, and together they cover the deck without a single glaring floodlight.
Deck lighting LED fixtures make this practical because the whole layered system might draw less power than one old incandescent porch light. Outdoor string lights can add a fourth layer over a dining area, but treat them as seasonal decoration in WNY, not the primary light source; heavy wet snow loads sag and snap cheap string light runs.
6. Put the transformer and connections where snow cannot bury them
Every low voltage system has a transformer, and where it goes matters more here than in milder climates. Mount it on the house wall under the deck or in a covered spot at least 12 inches above grade, above the snow line that builds against foundations in a lake-effect year. Wire connections should use gel-filled waterproof connectors, not twist caps, because meltwater finds every open splice during a March thaw.
Drainage thinking applies to lighting the same way it applies to footings and framing. Water that pools around a junction box freezes, expands, and pries housings apart. A deck builder who plans for freeze-thaw in the structure should plan for it in the electrical layout too, and it is a fair question to ask during a quote.
7. Know when lighting needs an electrician and a permit
Low voltage wiring downstream of the transformer is generally homeowner-safe territory, and many people install plug-in kits themselves. The line that should trigger a licensed electrician is anything at 120 volts: a new exterior outlet for the transformer, a switched circuit from inside the house, or line voltage fixtures. In Erie County towns, deck construction itself typically needs a permit, and adding a new exterior circuit can require an electrical inspection on top of the building permit.
Therefore, if you are already pulling a deck permit for a new build or a structural rebuild, fold the electrical work into the same project. It is one inspection cycle instead of two. Skipping permits is not worth it anywhere; as a reference point for how seriously municipalities treat unpermitted deck work, NYC penalties range from $2,500 to $25,000, according to PermitsGuide. Local Western New York towns are not NYC, but they do enforce.
8. Budget lighting as a line item, not an afterthought
Lighting rarely drives a deck budget, but it should appear in the quote as its own line so you can compare builders fairly. For context on the larger project, a professionally built deck averages $30 to $60 per square foot, according to Angi as cited by NerdWallet, with labor alone typically running $15 to $35 per square foot. Against numbers like that, a wired lighting package is a modest add, and it is one of the few features guests notice every single evening.
When you compare two or three quotes in 2026, ask each builder the same three questions: Is lighting rough-in included during framing or priced separately? Is the system solar or low voltage wired, and why? Who handles the 120-volt connection and its inspection? A fair quote answers all three in writing. A vague "we can add lights later" usually means lights were never planned at all.
Repair or rebuild: where deck post lighting fits the decision
If your current deck has soft boards and a wobbly railing, do not spend money on lighting until the structure is sorted. A cap light screwed to a rotting 4×4 is decoration on a hazard, and a loose guard post is a safety problem before it is a lighting problem. Get an honest structural assessment first; a good deck builder will tell you plainly whether the framing and footings can carry a repair or whether rot has reached the point where replacement is the cheaper long-term path. Some situations, such as posts rotted at grade or footings shallower than the 42-inch frost depth WNY requires, need a professional evaluation rather than a DIY judgment call.
The upside of a rebuild is that all the deck lighting and features you want, post caps, riser lights, a built in bench with lighting under the seat lip, even a pergola attached to the deck with a downlight circuit, can be designed in from the first framing drawing. That is when they cost the least and last the longest.
Get a lighting plan drawn into your deck design
Deck post lights are a layout decision, not a shopping decision. The spacing, the wire paths, the transformer location, and the stair coverage all get decided during design, long before anyone opens a fixture box. If you are planning a new composite deck, a pool deck, or a replacement for a deck that will not survive another winter, have the lighting plan drawn into the deck design from the start.
If you are in Buffalo or the surrounding Western New York area, reach out for an estimate and ask to see the lighting layout on the drawing itself. A deck built for snow load and freeze-thaw should have lighting planned to the same standard.
If you need deck building, WNY Deck Builders can help.
Prefer to talk it through? Call (716) 317-4901 — a quick call is usually the fastest way to get a straight answer for your situation.